


Data Recovery
Pro Data Recovery Wizard! Quick and deep scan your computer to retrieve deleted files.

User Guide
- Install
- Uninstall
- Register
- Guide
- Video Tutorial
- Glossary
1. Search FonePaw Data Recovery on Google or go tn FonePaw official website directly.
2. Download the program and click it to install.
3. Select the language in the following pop-up.
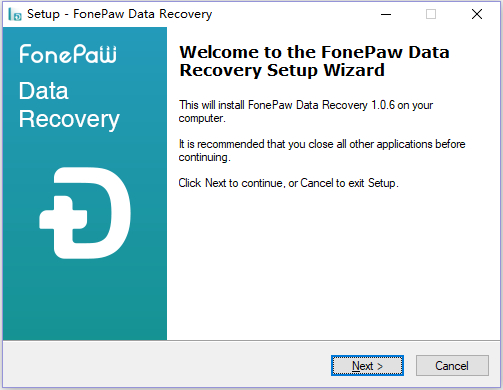
4. Confirm to go to the next step to install FonePaw Data Recovery.
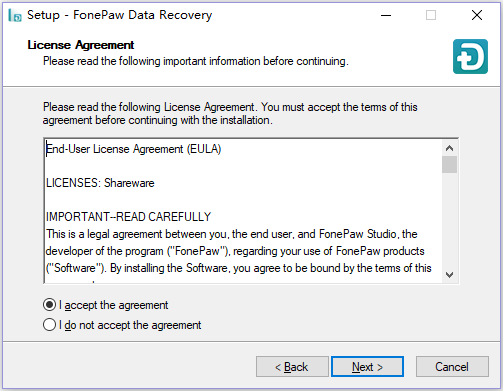
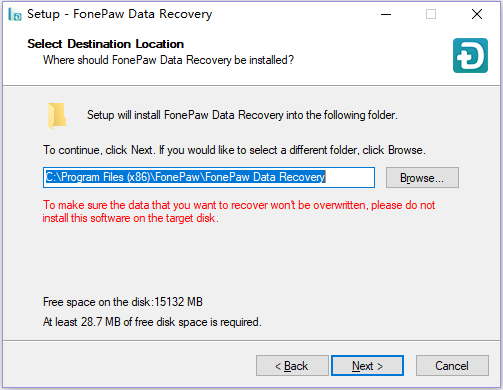
5. Check the agreement in details and tick "I accept the agreement" to continue selecting folder to save the program and its related cache.
Note: Please select a disk where the data you want to recover is not saved previously lest the installing process will overwrite the deleted data.
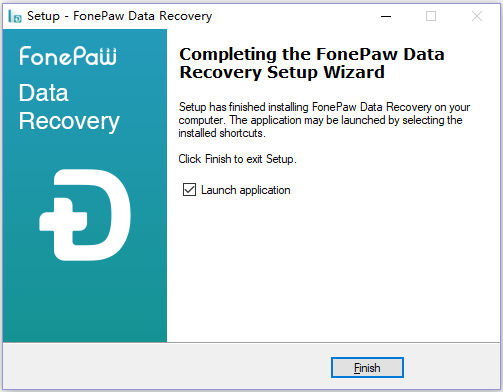
6. If you like to perform additional tasks, please check the box in front of it. Then, launch the software after those actions above and you will see the installation page loading on the browser.
1. In the Start menu, search for FonePaw Data Recovery and click Uninstall after right click on its icon.
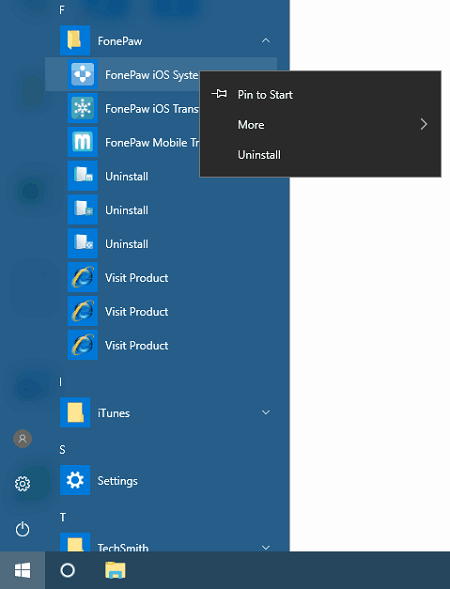
2. There is a pop-up asking you to make sure whether to delete it from the computer.
3. When you have uninstalled the program completely, there will come with a uninstallation page on the browser.
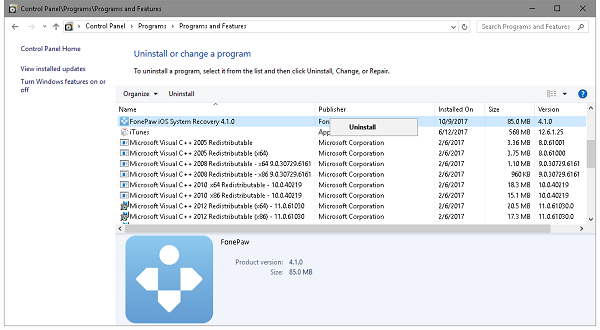
Optional: You can also remove the program from "Control Panel" on Windows PC.
- Win 7: hit "Start" key > "Control Panel" > "Uninstall a program".
- Win 10: "Windows System" > "Control Panel" > FonePaw Data Recovery > Uninstall it.
Step 1. Free Try the Program
You may install the data recovery utility before. Here suggest you try to scan out your lost files on hard drive. When it can show what you need, please move on to register.

Step 2. Enter License Code
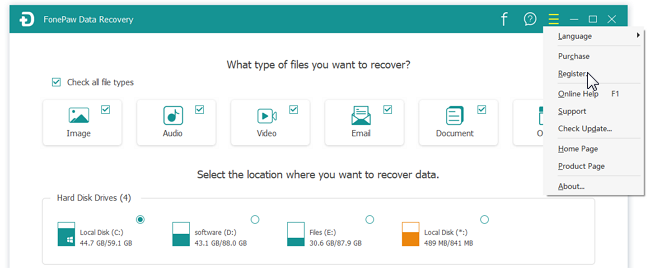
If you have purchased the software successfully, FonePaw support team will send a letter with the registration code to you. Click the icon next to the question mark and hit Register option.
Step 3. Register Successfully
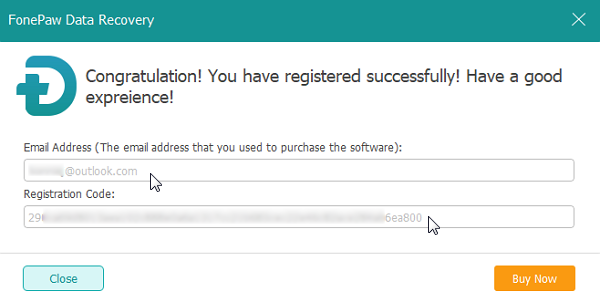
The pop-up will come to you and ask you to enter the registration code. Thus, copy the code and e-mail address to certain box. It is done when it shows: Congratulation! You have registered successfully! Have a good experience!
Only with 3 steps, you have become the real data recovery user. Without registering, the Recover button cannot work for you and you are allowed to preview the scanned data with FonePaw Data Recovery. Now, you can retrieve what you want back to Windows.
Step 1: Select Data Type to Scan
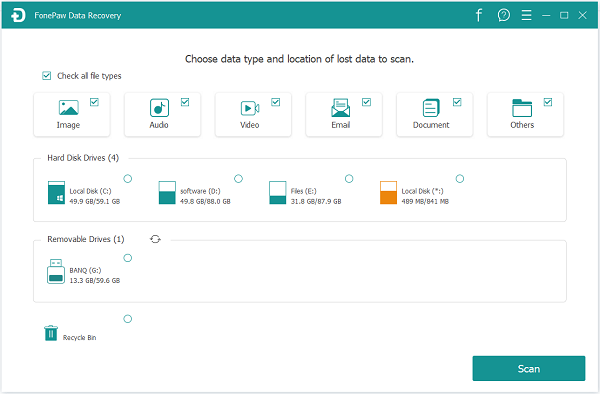
Launch FonePaw Data Recovery and you will get the homepage of the program. You can select the ideal data type and hard disk drive to go into scanning process. If you only tend to recover one or two kinds of the data, just check the box of them and it is no need to check all file types to scan.
Tips: If you aims to retrieve the deleted data from the removable drive, connect it to PC and FonePaw Data Recovery will detect it on the "Removable Drive" list.
Step 2: Check the Results
There are two modes offered and you are allowed to choose "Quick Scan" or "Deep Scan". Actually, when you get into the scanning, qucik scan will start automatically and finish in a short time. Thus, you can check the scanned results by Type List and Path List, which categorize the data according to their types/formats and saving place.
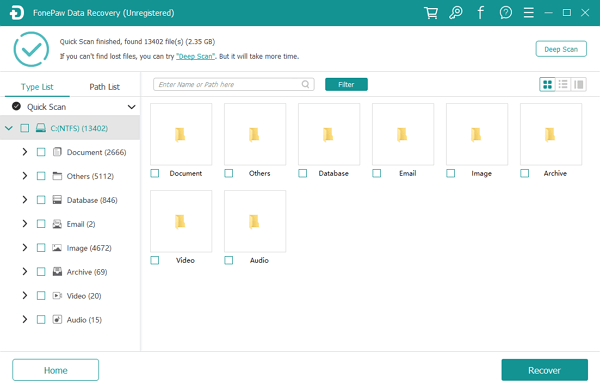
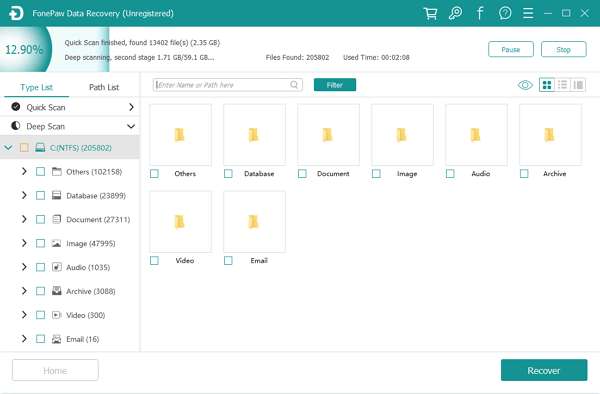
Note: If you are not satisfied with the quick scanned results, turn to "Deep Scan" to find more contents. This process may cost more time so please be patient to wait.
Step 3: Tick What You Like to Recover
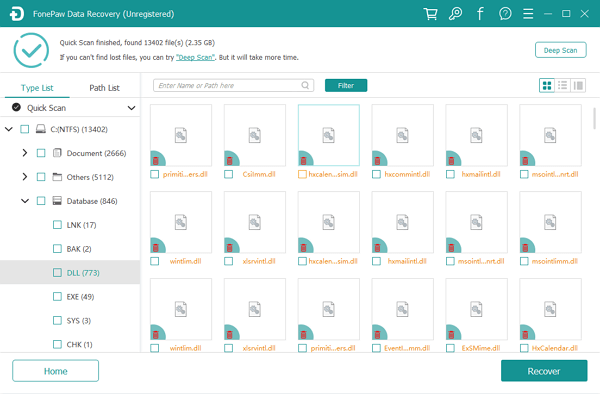
After all types of data are listed, choose the ideal data to recover. There is a search bar allowing you to locate the files with the name of path. Besides, you can change the preview mode with clicking the icons next to Filter button.
Toshiba, Lenovo, LG, Acer, ASUS, and more brands are supported to be recovered with FonePaw Data Recovery, so you don't need to worry. Use the free trial version right now to see if it is what you want.
Quick Scan and Deep Scan
Literally, "Quick Scan" is fast and takes less time than "Deep Scan". When you connect your device to the computer, launch the program, and begin the scanning, the quick scan process will start automatically and ends within minutes. The reason why it performs so fast is that it only scans for certain volumes, lost volumes, or removable media. You can find most of your data through a quick scan.
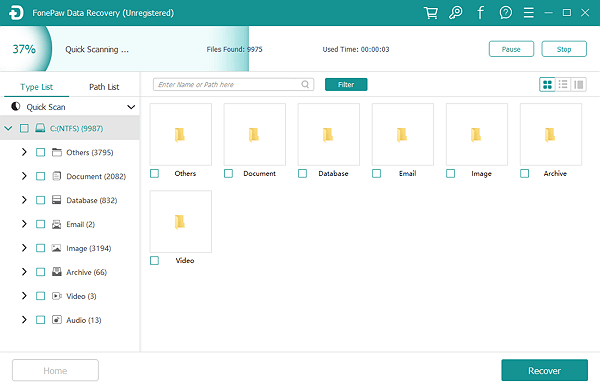
However, if you can't find the files you need after the quick scan process, you will need the "Deep Scan". It scans the whole drive to find out more data. Meanwhile, it will take a longer time as well because there is so much data to be scanned. The result of the deep scan process will be more prices and detailed.
In short, "Quick Scan" will be fast but it only scans on some selected volumes while "Deep Scan" takes longer but more thoroughly.
What is File System
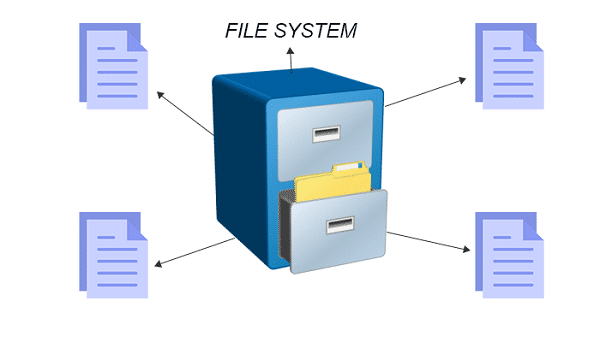
File System, also abbreviated to fs, is a way to store, organize, and allocates the storage space of the device. It makes access and lookup data easier.
With a file system, data that saved in a storage medium would be separated into different pieces. By giving each piece a name, the data can be easily isolated and identified. The group of data is called "File" and the structure and logic rules that are used to manage them and their names called "File System". When users create a file, it helps store, read, revise, and transfer files.
There are many types of the disk file system. Also, the different operating system supports different file system. Here we'll focus on 4 types: FAT32, exFAT, NTFS, and APFSS.
Simply put, FAT32 is less used now and it only supports individual files that are maximum of 4 GB. exFAT is like the upgrade of FAT32, working on both Windows and Mac. And it is mostly used in USB partition. NTFS is the most widely used format. It has better security and the file size can be up to 256TB. As for APFS, it is the file system of Apple computers and only works in macOS High Sierra or later.
FAT32
FAT32, also called File Allocation Table 32, is one of the oldest file systems available to Windows.
It works with Windows, Mac, and Linux. Files on a FAT32 drive are maximum of 4 GB and the partition must be less than 8 TB. If you are going to format an internal drive, you'd better not choose FAT32.
Because of its old age, it lacks the permissions and the security features built into the modern NTFS file system. Also, the modern versions of Windows are no longer compatible with FAT32.
exFAT
Extended File Allocation Table, short for exFAT, is like an upgraded version of FAT32 and allows users to store files much larger than the 4GB allowed by FAT32. Files on an exFAT drive can be maximum of 256GB.
As for the compatibility, it works with all versions of Windows and modern versions of Mac OS X. It is one of the best partition formats of USB. So if you want the device you use supports exFAT, you should format all of them with exFAT.
NTFS
NTFS means NT File System. It is the default file system used by Windows. Your system drive will be formatted as NTFS when you install Windows. The file size and partition size limits are so large that you won't run up against them.
It has better security and supports recovering errors quickly by changing the journal if your computer crashes, shadow copies for backups, encryption, disk quota limits, hard links, and various other features. The system partition of Windows must be NTFS.
Besides, you should note that macOS can only read from NTFS drives but can't write directly.
APFSS
APFSS, standing for Apple File System, is a modern file system introduced by Apple and used for replacing the former HFS+ file system.
It is faster than HFS+ and became the default file system for solid-state drives and flash memory in 2017's macOS High Sierra.
But you should be aware that APFS formatted USB flash drives are not readable or writable by Windows computer or older Macs.


